Do-it-yourself socket installation: 8 installation steps
Do-it-yourself installation of sockets involves saving money and time. All you need to know is international standards and installation rules. Experts tell us in detail about all the nuances of the installation and possible problems today.
Installing an outlet: what to be prepared for?
For each device, a separate socket is equipped with an autonomous connection to the meter and a residual current device is installed. It is impossible to be limited only to wedging a new point into an old overloaded system.
IMPORTANT! According to the rules of electrical safety, it is necessary to install a separate socket for the washing machine (required with grounding), for an electric stove, and even a separate point for the refrigerator.
In the case of an autonomous connection of each socket for household appliances with high power consumption, it will be easy to determine the cause of a breakdown or failure in the network, as well as protect equipment from damage due to the failure of a certain section of the network.
The device, powered by its own unit, will not overstress the entire electrical wiring of the apartment, which will allow you to simultaneously use several powerful devices (washing machine and electric stove). Otherwise, traffic jams will be knocked out from the heavy load of the network.
If the apartment is old, seriously think about not just putting in a couple of new sockets, but immediately changing all the wiring.
IMPORTANT! During a major home renovation, changing wiring is no less important than leveling the floor or replacing windows.
One, without the help of a specialist, can not cope here. You need to know how to calculate the power of the wire, how to properly connect the wiring to the electric meter, which sockets and for which devices to choose, and how the wiring diagram for the sockets in the apartment should be drawn up.
Installation of sockets: regulatory documents
To do the work yourself you will need:
- GOST 7397.0-89 (installation of switches);
- GOST 7396.1-89 (installation of sockets);
- GOST 8594-80 (boxes for mounting switches and sockets);
- SNiP 3.05.06-85 (technical requirements).
General step-by-step installation of sockets
Installation of sockets in the kitchen for an electric stove
- Behind the working kitchen tables, the points are set at a height of up to 10 cm above the floor level (measured from the finished floor to the top edge of the outlet).
- For built-in appliances, sockets are installed behind the partitions of the bedside tables. Installation height should not exceed 60 cm, but also below 30 cm above the floor level. Installation involves cutting a hole in the back wall of the kitchen furniture.
- The length of the connecting wire from the device must not exceed 150 cm.
- In the kitchen, it is allowed to install cabinets with a sink inside. The degree of moisture protection is not lower than IP44.
- For the hood, install at least 50-60 cm from the top of the kitchen cabinet. The recommended distance from the hood to the point is 20 cm.
- For small household appliances, they are installed on an apron, but not higher than 1-1.4 m from the floor level.
IMPORTANT! The ventilation duct of the hood must not block the socket.
It is forbidden to install:
- over the stove;
- behind the body of embedded equipment;
- behind drawers;
- above the sink.
Installing an outlet for a washing machine
- To protect against electric shock, all large equipment must be connected to the RCD.
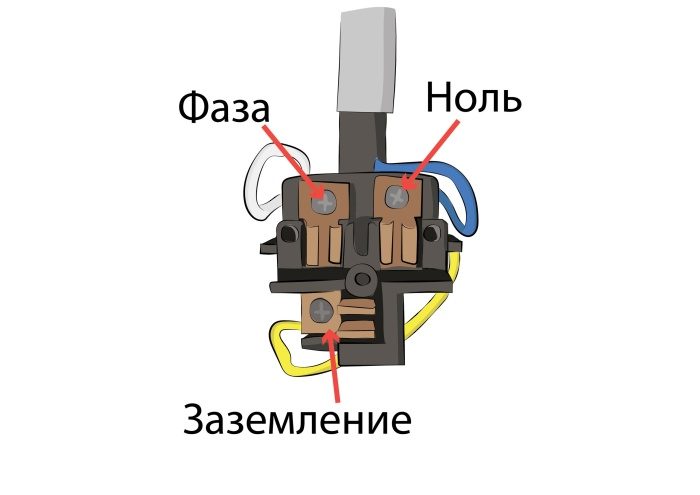
- The washing machine is connected to a three-pin point with a three-wire wire (zero / phase / ground).
- Connecting washing machines through an extension cord from other rooms is prohibited.
- To power the washing machine, a separate, RCD-protected line with a leakage current of 10 mA (according to the PUE) must be organized.
- The automatic switch from the manufacturer must be installed.
IMPORTANT! Installation of a surface socket, in terms of heat transfer, is better than a hidden installation method.
For reliable operation of devices, it is better to choose products of ABB, Legrand or Prodax brands.
TV outlet installation
Installation is carried out remotely from the signal source - antenna or splitter. It is better to lay the wire for the socket in the plinth - in a special cable channel. Installation of a TV outlet in an installed box is carried out with a cable margin (10 cm).
Installing an RJ-45 computer outlet follows the same pattern. When connecting a network point, you need to put the wires into the slots, based on the color layout, press in and fasten the latches.
Installing a telephone jack
IMPORTANT! All work must be carried out with protective gloves!
- Remove insulation from telephone wires.
- Open case.
- Connect the telephone wire to the appropriate wires (red wire - "minus", green - "plus").
- Close the cover, fixing it to the wall with self-tapping screws.
Rules for installing sockets depending on the material of the walls
Material Technics Wooden house
Due to the increased flammability of the wall material, an external socket is installed, i.e. the socket is not recessed into the wall. A non-combustible base is placed under the base - textolite or getinax, after which the boxes under the outlet are screwed to the wall with screws.
It is forbidden to lay wiring in a house made of wood in an open way, and when hidden, it is advisable to place cables in a corrugation or metal hose.
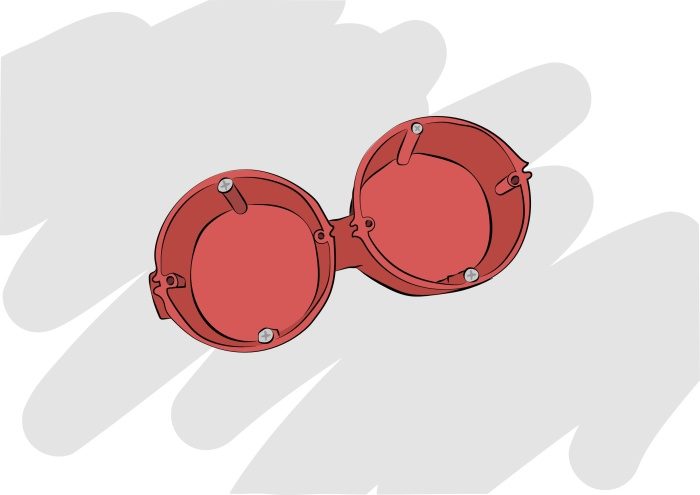
Install several sockets in a row at once. Block mounting minimizes loosening or play. A box or any other base for block sockets is selected as a kit from the manufacturer. We recommend ANAM and VIKO.
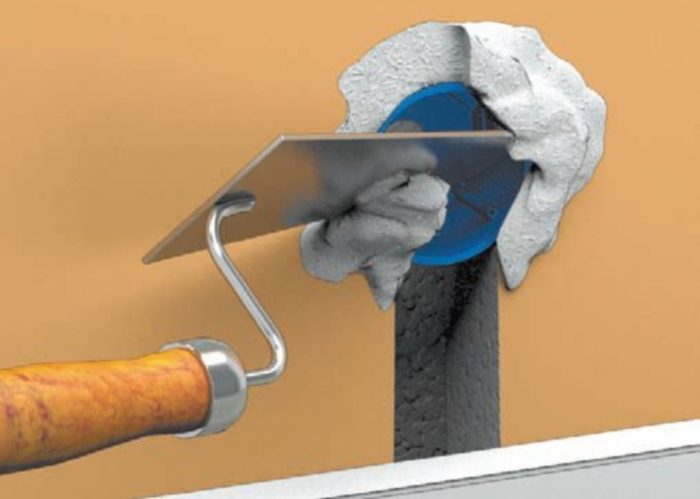
Concrete wall
They make strobes (grinder, puncher or strobe cutter). The cable, before laying in the strobe, is placed in a corrugated pipe and fixed in the wall with gypsum mortar. After installing the junction box in the gate, the cable in the corrugation must protrude from the box by at least 10 cm.
The box is fixed in the wall (gypsum mortar can be used). In brick, the socket is installed in the same way as in concrete.
Block house
It is carried out before finishing wall cladding: cable lines are laid, socket installation points are determined, and the installation method. Wiring is placed in strobes or in voids under the block house. Sockets are most often placed in the wall decoration material, cutting into the depth.
Drywall
Use special accessories for the installation of the electrical network (available in every hardware store). This applies to recessed boxes with special clamping screws. They easily enter the drywall and are securely fixed in the allotted slot. Installation is carried out after assembling the frame for the panels and before the final installation: they lay cable channels, determine the location of the sockets.
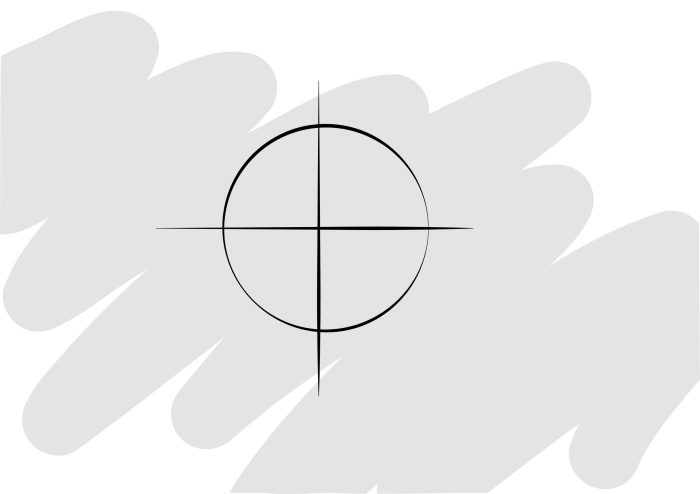
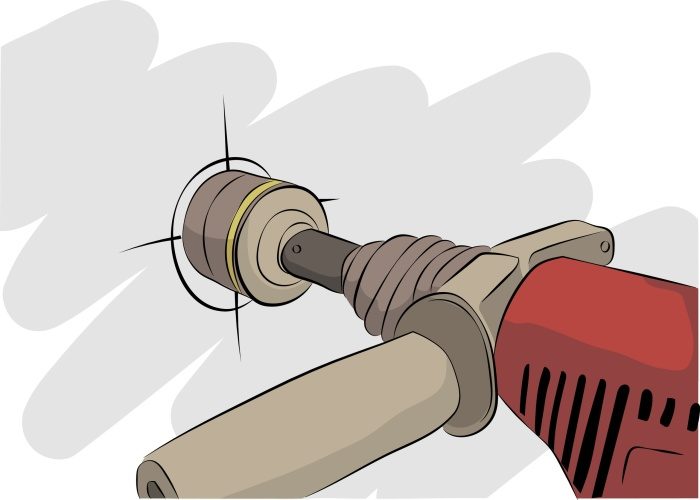
IMPORTANT! For the installation of internal sockets, they initially equip a hole of the required diameter to accommodate socket boxes or boxes for sockets in it. The socket in the prepared base is attached to the lamella clips.
Sockets in walls made of concrete, brick or GVL are mounted on dowels or nails, and in walls made of wood - on self-tapping screws or nails
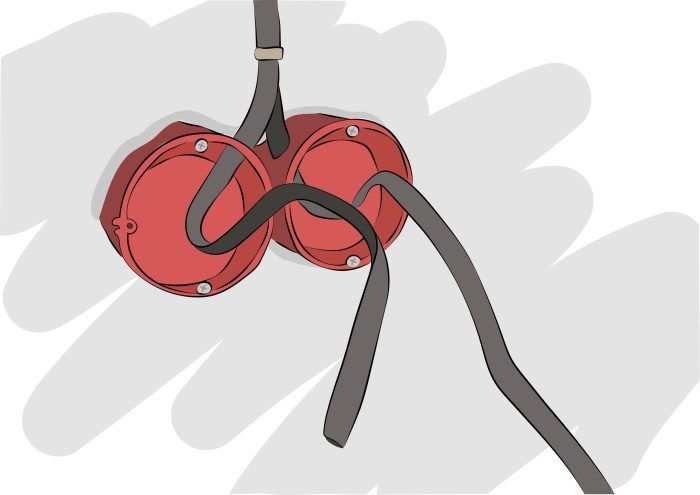
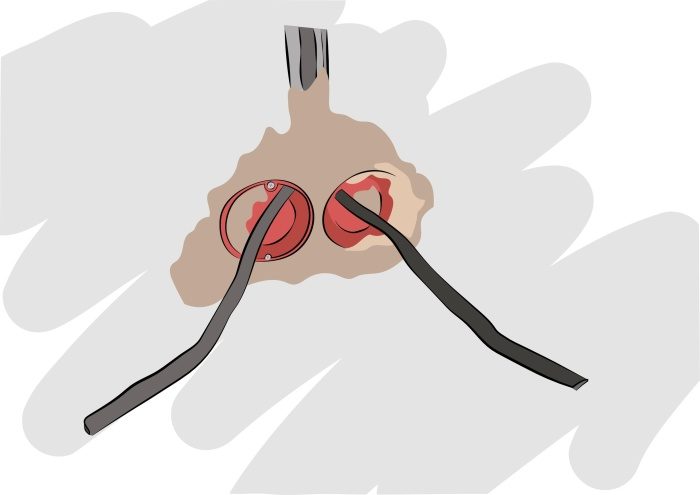
Installing a socket for a power outlet
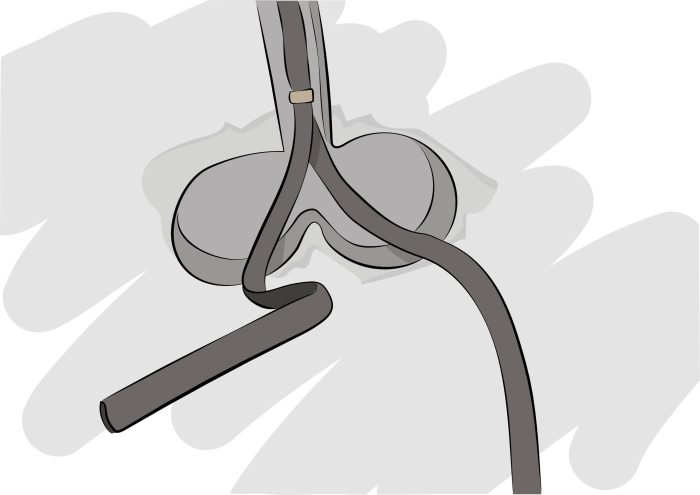
Step 4 - Break out the wiring holes in the junction box
Installation of sockets and switches
The European standard provides for the installation of sockets and switches at a height of no more than half a meter above the level of the finished floor.
To install the switch, the wire must be clamped with the end of the screw turned inward. Do not overdo it, because you can pinch the cable and ruin everything. The wire is fixed by inserting it into the corresponding grooves on the switch body.
IMPORTANT! The switch is mounted in the break of the phase wire.
Mounting height of switches:
- in schools - 1.8 m from the floor;
- at catering or trade enterprises - up to 1.3 m from the floor;
In other buildings, the height is chosen arbitrarily.
Outdoor socket
- the wire to the point should be carried out only in a hidden way;
- the socket must comply with the IP65 waterproof standard and not less (where 6 is an indicator of complete protection against dust ingress, and 5 is an index that determines the protection of the point from a jet of water);
- must be equipped with a special protective screen.
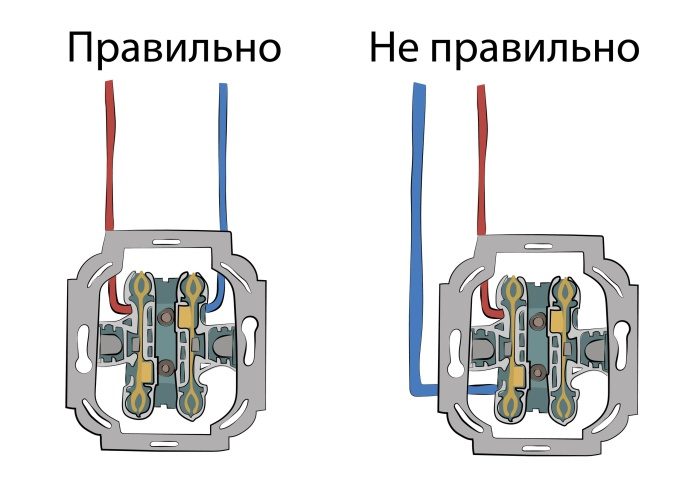
Installation of double sockets
Installation of sockets: the price of work
If we are talking about repairing an apartment and replacing sockets / switches in it, then complex work on arranging electrical outlets for a one-room apartment will amount to 30 thousand rubles, for a two- and three-room apartment - from 45 thousand rubles.
Single case:
- euro socket for stove - 900 rubles;
- computer network point - 600 rubles;
- RCD - 600 rubles;
- switch - 1200 rubles.
The cost of installation should be agreed in advance, as well as the list of necessary works (chasing, arrangement of electric mains, purchase of components and cleaning of the premises).
Installation of sockets in Moscow:
- 250 rubles / piece (without changing boxes);
- 600 rubles / piece (with box replacement, brick wall);
- 500 rubles / piece (with replacement box, drywall);
- 800 rubles / piece (with box replacement, concrete wall).